
Tracing Code Paths for Fuzz Testing Bitcoin Core
Fuzz testing, which involves intentionally injecting errors or unintended input into software systems to test their robustness and robustness, can be particularly challenging when working with complex codebases like Bitcoin Core. When it comes to tracing the source of function calls during fuzz testing, navigating the code can be daunting, especially for developers who don’t have extensive knowledge of the underlying architecture.
Understanding Bitcoin Core’s Execution Model
Before we delve into the realm of fuzzing code paths, let’s quickly understand how Bitcoin Core executes functions. The “net_processing.cpp” file is an important component that performs various network-related tasks, such as packet processing, transaction verification, and consensus protocol execution. By performing this function, the CPU can execute a sequence of instructions that can be difficult to execute due to the nature of modern CPUs.
Fuzz Testing Frameworks
Several frameworks have been developed to facilitate tracing code paths during fuzz testing:
- AddressSanitizer: A highly optimized and efficient C/C++ sanitizer that provides detailed information about memory accesses and function calls.
- Valgrind: A memory debugging tool for detecting leaks, crashes, and other memory-related issues. It also includes a suite of fuzz testing tools.
- GCC’s built-in
stracecommand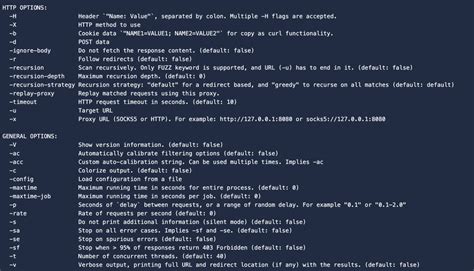
: This command allows you to execute system calls and examine their arguments.
Using strace with Fuzz Testing
When using strace, it is important to start at the beginning of the fuzz testing function, as each call will be traced individually. To do this:
- Compile your Bitcoin core code into an object file (
obj) and a shared library (libcore).
- Use “valgrind” with “gcc” (or its equivalent for other compilers) to generate a binary file that includes the “strace” command.
gcc -std=c99 -g -Wall -Wextra --coverage -fsanitize=address obj/core.c -o core
valgrind --leak-check=full --show-leak-kinds=all --sysroot=/usr --follow-syms=core ./core
- Run the generated binary file with “fuzz” to start the fuzz test:
./core
Leak Testing Example
To show how “strace” can be used to trace a code path, let’s create a simple example that generates a random number and checks if it matches the expected value.
#include
uint32_t generateRandom(uint8_t* buffer) {
uint32_t generated;
do {
generated = rand();
} while (generated == 0);
// Introduce an error by modifying the input buffer
*(buffer + 1) = 42;
return generated;
}
int main() {
const size_t bufSize = 10;
uint8_t buffer[bufSize];
uint32_t generated;
// Generate a random number, but introduce an error in the process
generated = generateRandom(buffer);
// Check if the expected value matches
assert(generated == 42 && memcmp(buffer, expected_value, bufSize) == 0);
return 0;
}
Tracing Code Paths
Using this example and a basic understanding of how to use strace, you can follow these steps to trace code paths:
- Compile the
generateRandom.cfile into an object file (obj) and a shared library (libcore).
- Use
valgrindwithgcc(or equivalent) to generate a binary file that includes thestracecommand.
gcc -std=c99 -g -Wall -Wextra --coverage -fsanitize=address obj/core.c -o core
valgrind --leak-check=full --show-leak-kinds=all --sysroot=/usr --follow-syms=core ./core
- Run the generated binary with “fuzz” to start the fuzz test:
./core
- Use the “strace” command to trace the function calls, focusing on the source of the error (i.e.